

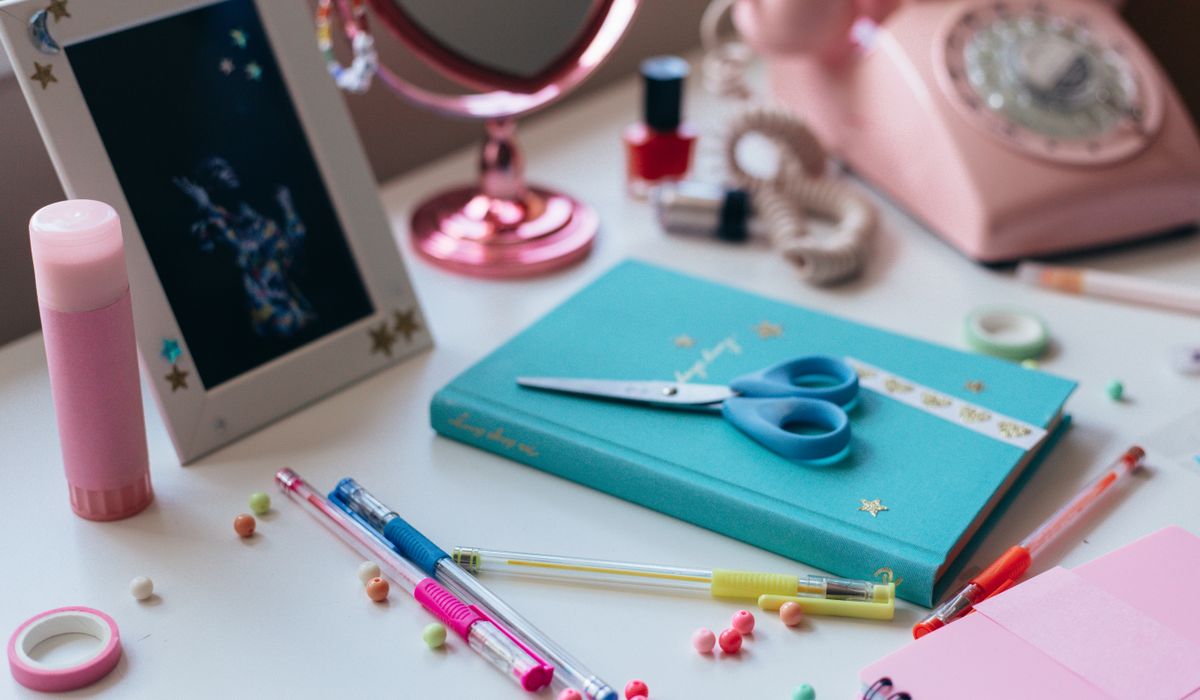
Handmade Birthday Cards Using Layered Paper Techniques
Few things arrive with as much goodwill as a handmade birthday card. It tells the person you thought about them, not just the date in your diary. And the good news is that you do not need a studio of equipment to make one: a few sheets of coloured paper, a card blank and some careful layering will do beautifully.
Start With a Sturdy Card Blank
Layering adds weight, and a flimsy card will buckle under it. Look for blank cards of around 300gsm — heavy enough to stand on a mantelpiece and to hold several layers without bowing at the edges. A6 (105 × 148mm) is the classic size for a handmade greetings card, and it is forgiving when you are working with small offcuts. A C6 envelope fits it neatly.
If you would rather make your own blank, cut a sheet of A4 card in half lengthways and fold it with a bone folder. A crisp, well-burnished fold makes even the simplest card look considered. Press the folded card under a heavy book for ten minutes before you begin, and it will lie flat while you work.
The Three-Layer Rule
Most successful layered cards use three visual layers, and no more. Think of them as background, middle and focal point.
The background is the card blank itself, or a panel of paper mounted to leave a border. The middle layer might be a slightly smaller rectangle of patterned paper, a torn strip or a die-cut shape. The focal point is the one element your eye lands on first: a stamped sentiment, a die-cut number, a small cluster of punched flowers.
Stop at three and the card feels calm. Add a fourth and a fifth without a clear hierarchy and it starts to look cluttered, however lovely each individual piece is. If you are unsure, take a photograph of the card on your phone. Shrinking it to screen size shows you instantly whether the composition holds together.
Techniques Worth Practising
- Matting and layering: cut each panel 5mm smaller than the one beneath it using a craft knife, metal ruler and cutting mat. Consistent borders are what make layering look deliberate.
- Torn edges: tear paper towards you against a ruler for a soft, fibrous edge. Ink it lightly with a sponge and a brown or grey ink pad to add depth.
- Foam pads: raise the focal layer on small adhesive foam squares. A 2–3mm lift casts a gentle shadow and gives the card a surprising amount of dimension.
- Apertures: cut a circle or rectangle from the top panel, then place patterned paper behind so it peeks through. Add a scrap of acetate if you want a window effect.
- Decoupage: build a single image from repeated printed elements, layering each copy slightly offset on foam pads for a 3D finish.
- Stitching: a line of hand-pricked holes worked in embroidery thread, or a simple running stitch on a sewing machine, adds texture without bulk.
Colour, Embellishments and the Occasion
Choosing a palette is easier than it sounds. Pick one dominant colour, one neutral such as cream, kraft or soft grey, and one accent. A deep teal with kraft and a hint of copper works for a grown-up birthday; pastel mint with white and a touch of gold suits a first birthday. Keep to that trio and everything you add will sit comfortably together.
Textured card stocks — linen, kraft, pearlescent and hammered finishes — earn their place because they catch the light. Smooth paper is best reserved for anything you plan to stamp or write on.
Embellishments should be chosen for meaning as much as for looks. A few ideas:
- A die-cut age number, slightly larger than you think it needs to be.
- Three small punched butterflies or stars, graduating in size.
- A strip of washi tape across a corner, trimmed flush with the edge.
- A single sequin or tiny flat-backed gem in the centre of a flower.
- A stamped or handwritten sentiment on a small tag, tucked behind the focal panel.
Resist the urge to use all of them at once. One strong embellishment plus two supporting details is nearly always enough.
Finishing Touches That Lift the Whole Card
The details at the end are what separate a nice card from one that feels genuinely special.
- Ink every edge. A light sweep of ink around each paper layer softens harsh cut lines and ties the colours together.
- Write inside first, or plan for it. Add a panel of pale paper inside the card so your message has a clean background and does not fight with the layering on the front.
- Check your adhesive. Double-sided tape for flat layers, a tape runner for large panels, wet glue for small embellishments, foam pads for anything that needs to stand proud.
- Personalise it. A hand-written name, the age, or a small doodle of something the recipient loves will mean more than any bought embellishment.
- Protect it in the post. If you are posting the card, slide it into a clear cellophane sleeve and use a board-backed envelope, or hand it over in person.
Work in batches if you can. Once your papers and tools are out, making three or four cards takes barely longer than making one, and you will have a small stash ready for the birthdays that always seem to arrive at once. Store them flat, away from direct sunlight, and they will keep beautifully until the right morning comes around.


Notebooks
-
Writing letters by hand encourages slower, more considered communication and gives recipients a lasting keepsake they can revisit.

Pens


-

Long established fact that a reader will be distracted
-

Long established fact that a reader will be distracted
-

Long established fact that a reader will be distracted


Journaling
Karla Gleichauf
12 May 2017 at 05:28 pm
On the other hand, we denounce with righteous indignation and dislike men who are so beguiled and demoralized by the charms of pleasure of the moment
M Shyamalan
12 May 2017 at 05:28 pm
On the other hand, we denounce with righteous indignation and dislike men who are so beguiled and demoralized by the charms of pleasure of the moment
Liz Montano
12 May 2017 at 05:28 pm
On the other hand, we denounce with righteous indignation and dislike men who are so beguiled and demoralized by the charms of pleasure of the moment