

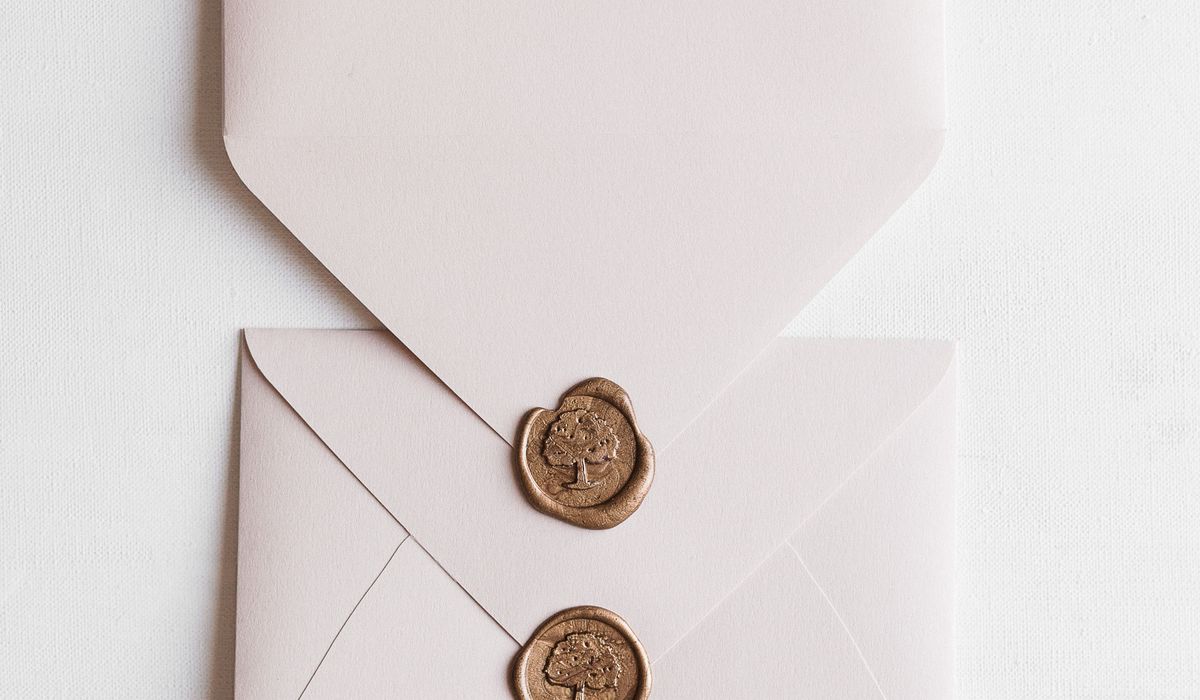
Making a Simple Notebook from Scratch at Home
Why Make Your Own Notebook?
There is something quietly satisfying about writing in a notebook you made yourself. Beyond the pleasure of it, making your own means you choose everything: the size that actually fits your bag, the paper that suits your fountain pen or watercolour washes, and the cover that makes you want to pick it up. A homemade notebook also makes a genuinely thoughtful gift, especially once you start experimenting with decorative papers and coloured thread.
The good news is that you do not need a workshop or years of training. A simple sewn notebook — often called a pamphlet or multi-section binding — can be made in an afternoon on a kitchen table with a handful of tools. This guide walks you through a sturdy A5 notebook with five sections, which is a comfortable size for journals, commonplace books and sketching.
What You Will Need
Gather everything before you start, so you are not hunting for a needle with glue-covered fingers. Most of these items are inexpensive and reusable.
- Paper: 20 to 25 sheets of A4 paper, 80–120gsm. A smooth 100gsm paper takes fountain pen ink beautifully; a slightly textured cartridge paper is lovely for pencil and light watercolour.
- Cover board: two pieces of greyboard or mount board, each 15cm × 21cm, around 1.5–2mm thick.
- Cover material: book cloth, a sturdy decorative paper, or even a heavy cotton fabric backed with an iron-on adhesive sheet.
- Thread: linen bookbinding thread or strong waxed cotton. Polyester thread works but can be slippery.
- Tools: a bone folder, an awl, a size 18 or 20 bookbinding needle, a metal ruler, a craft knife, a cutting mat, small bulldog clips or binder clips, and a pot of PVA glue with a small brush.
- Extras: a waste sheet of paper for gluing, and something heavy — a stack of books or a proper press — for flattening.
Folding and Preparing Your Pages
The grain direction of your paper matters more than most people realise. Fold a sheet in half, then fold it again; if the folded edge feels smooth and springy, you are folding with the grain. If it feels rough or cracks slightly, the grain runs the other way. Always try to fold with the grain so your spine does not buckle over time.
Take four or five sheets at a time and fold them together in half, short edge to short edge, to make a signature. Run the bone folder firmly along the fold to crease it sharply, pressing down rather than dragging sideways. Repeat until you have five signatures — roughly 20 to 25 folded sheets in total, which gives you about 80 to 100 pages. Nest each signature inside the next and check that the folded edges line up neatly. If any stick out, trim them with a sharp knife and a ruler against a cutting mat so the whole stack sits flush.
Piercing and Sewing the Spine
With the signatures stacked and aligned, clip them together with bulldog clips. Draw a small pencil line across the spine about 1cm from each end and one in the centre. Using the awl, push a hole through every signature at each of these three points. Work on a cutting mat or a piece of scrap card so you do not blunt the awl on the table.
Thread your needle with about 60cm of thread and knot the end. Start with the middle signature: push the needle through the centre hole from the inside out, then back in through the top hole, and out through the bottom hole. Place the next signature above it, and stitch through the same three holes, passing the needle back through the loops at each station to link the sections. Continue with the remaining signatures, always linking into the previous section, until all five are joined. Finish with a double knot, trim the thread to about 2cm, and dab a little PVA onto the knot for security.
Making and Attaching the Cover
Cut your two boards to 15cm × 21cm — slightly larger than your A5 pages, which gives a neat border. Cut a piece of book cloth or paper roughly 6cm wider than the two boards plus a spine gap, and 3cm taller than the board height. Lay the boards on the cover material with an 8mm gap between them for the spine, then trim the corners of the covering material diagonally, leaving about 3mm at each corner. Fold and glue the edges over, rubbing firmly with the bone folder and easing the material around the spine gap.
Once the cover is dry, run a thin line of PVA along the spine of your sewn block and press it lightly against the inside of the cover. Place the whole book under a heavy weight for at least an hour — overnight is better. When it is dry, glue the first and last pages down to the inside of the boards, known as the endpapers, using a waste sheet to protect the pages. Press again and leave to cure.
Finishing Touches
Trim the edges of your pages if you would like them perfectly square, though a slightly deckled edge has its own charm. Add a title label, a ribbon bookmark glued under the spine, or a small pocket inside the back cover. If your first attempt feels a little loose, do not worry: sewing tension improves quickly with practice, and a slightly relaxed spine is far better than an over-tight one that will not open flat. Make a second notebook in a different size, and you will find the whole process takes half the time.


Notebooks
-
A rotating meal planner in a notebook helps households plan shopping, reduce waste and vary weekday dinners without relying on digital apps.

Pens

-

Long established fact that a reader will be distracted
-

Long established fact that a reader will be distracted
-

Long established fact that a reader will be distracted


Journaling
Karla Gleichauf
12 May 2017 at 05:28 pm
On the other hand, we denounce with righteous indignation and dislike men who are so beguiled and demoralized by the charms of pleasure of the moment
M Shyamalan
12 May 2017 at 05:28 pm
On the other hand, we denounce with righteous indignation and dislike men who are so beguiled and demoralized by the charms of pleasure of the moment
Liz Montano
12 May 2017 at 05:28 pm
On the other hand, we denounce with righteous indignation and dislike men who are so beguiled and demoralized by the charms of pleasure of the moment