

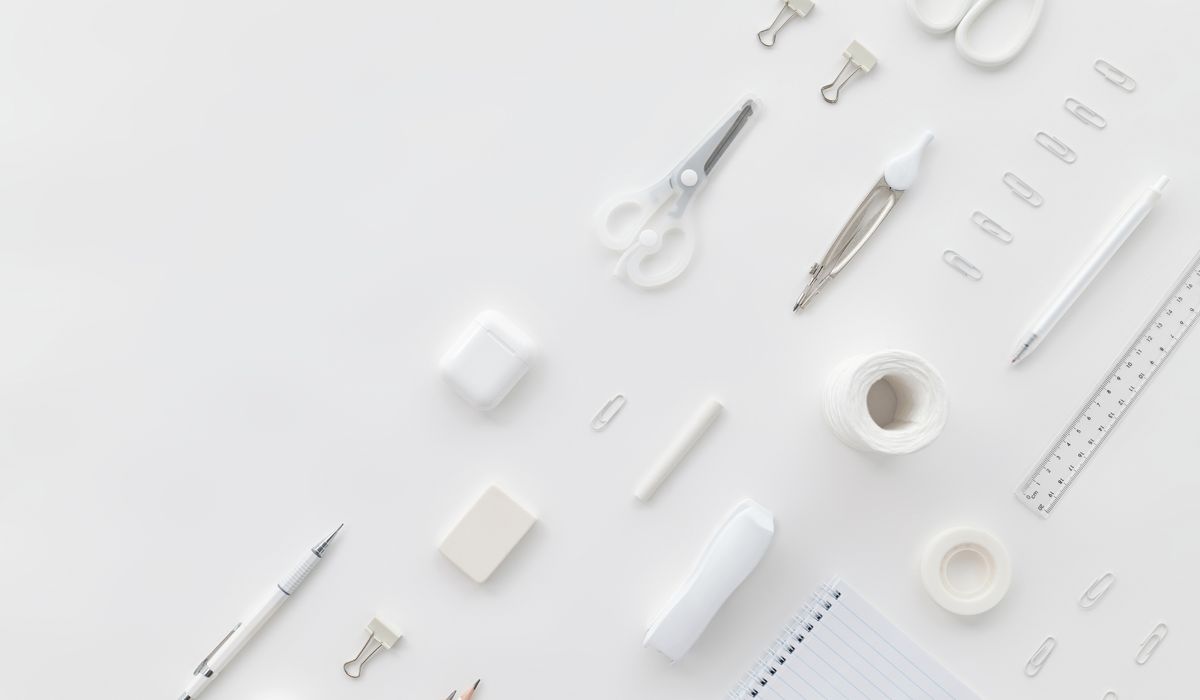
Using Drawer Dividers to Organise Craft Supplies
Why a Well-Divided Drawer Beats a Jumbled One
Every crafter has had the same experience: a spare hour appears, you sit down ready to make something, and then spend twenty minutes untangling a ribbon reel from a pack of adhesive gems. The creative mood evaporates. Drawer dividers solve this quietly and cheaply. A divided drawer turns a deep, dark space into a series of small, visible compartments, and visibility is the whole point. If you can see the roll of baker's twine, the stamp set and the tiny hole punch the moment you open the drawer, you will use them. If they are buried under a layer of card blanks, you will forget you own them and buy them again.
Dividers also make tidying faster. Instead of finding a gap and pushing everything into it, you return each item to its own slot. A five-minute tidy becomes a one-minute one, which means it actually happens.
Measure Before You Buy Anything
This is the step most people skip, and it is the reason so many divider sets end up in a cupboard. Before shopping, empty one drawer completely and measure it properly.
- Internal width and depth — measure inside the drawer box, not the outer front. Many drawers are narrower at the back than the front.
- Usable height — check the clearance between the drawer base and the underside of the unit above. A 4 cm tall box will not fit if there is only 3 cm of headroom.
- Tallest item — stand your tallest bottle of glue or ink pad in the drawer and measure that. Your dividers need to be at least 1 cm shorter so nothing catches.
- Slope — some drawers taper. If yours does, note both the front and back widths.
Adjustable dividers that grip the sides with sprung ends are ideal for awkward sizes, because you can shift them as your supplies change. For a fixed set, modular boxes in a few standard sizes — roughly 5 cm, 10 cm and 20 cm wide — will cover almost everything.
Ribbons, Washi and Trim
Long, thin, tangly things need the most discipline. Left loose, ribbon reels unspool and washi tape sticks to whatever it touches.
- Wind loose ribbon around an old playing card or a strip of card cut to 6 cm × 9 cm, then secure the tail with a small clip or a slit in the card.
- Store reels upright in a narrow compartment so they cannot roll, or lay them flat in a single row where you can read the colours at a glance.
- Keep washi tape on its own ring or in a shallow tray, stacked no more than three deep. Any deeper and you will be lifting tape to find tape.
- Group by colour family rather than by brand. You reach for "the red one", not "the one from that set".
A shallow compartment of about 4 cm depth handles reels neatly. For longer lengths of trim, a compartment running the full depth of the drawer keeps them straight and crease-free.
Stamps, Inks and Small Tools
Small, heavy and easily lost is a difficult combination. Stamps and metal tools also damage paper and card if they rattle around loose.
Clear stamps and small wooden stamps sit happily in a compartment lined with a strip of foam or felt — it stops them sliding and protects the rubber. Ink pads should be stored flat and upright, never stacked more than two high, and ideally in a section of their own so a leak does not ruin your card stock. Keep a separate small box, about 10 cm square, for the tools you use every single session: scissors, bone folder, craft knife, glue pen, tweezers. That box lives at the front of the drawer, nearest your hand.
Adhesives deserve their own compartment too. Double-sided tape, foam pads, glue dots and a tape runner all look similar in a hurry, and grabbing the wrong one mid-project is genuinely annoying.
Labels Do the Heavy Lifting
A divider system only works if you can identify a compartment without opening or rummaging. Labels are the difference between a system that lasts and one that collapses in a fortnight.
- Label the front edge of each compartment or box, not the top. You read a drawer from the front.
- Use short, plain words: "Twine", "Ink pads", "Glue", "Punches". Resist the urge to write "Miscellaneous" — it becomes a dumping ground within days.
- Colour-code by category with a small dot or strip of washi tape: one colour for adhesives, one for marking, one for cutting tools. It helps when you are putting things away tired.
- For anything you cannot label neatly, draw a tiny symbol or stick on a spare item so the contents are obvious at a glance.
Keeping the System Working
Divide your drawer in stages rather than all at once. Start with the one drawer you open most often, live with it for a week, and adjust the compartments that are not pulling their weight.
A few habits keep things tidy. Give yourself a ten-minute reset at the end of a craft session — not a full tidy, just enough to put the tools back in their slots. Rotate seasonal supplies, such as Christmas stamps or autumn paper, into a labelled box elsewhere so the main drawer stays uncluttered. And follow a gentle one-in, one-out rule: when a new set of pens arrives, one leaves.
The reward is simple. Open the drawer, see everything, start making. That is what a good organisation system should feel like — invisible, and always ready when you are.


Notebooks
-
Paper weight affects how a notebook feels, how ink behaves and how well pages survive erasing, so choose according to your writing tools.

Pens



-

Long established fact that a reader will be distracted
-

Long established fact that a reader will be distracted
-

Long established fact that a reader will be distracted




Journaling
Karla Gleichauf
12 May 2017 at 05:28 pm
On the other hand, we denounce with righteous indignation and dislike men who are so beguiled and demoralized by the charms of pleasure of the moment
M Shyamalan
12 May 2017 at 05:28 pm
On the other hand, we denounce with righteous indignation and dislike men who are so beguiled and demoralized by the charms of pleasure of the moment
Liz Montano
12 May 2017 at 05:28 pm
On the other hand, we denounce with righteous indignation and dislike men who are so beguiled and demoralized by the charms of pleasure of the moment