

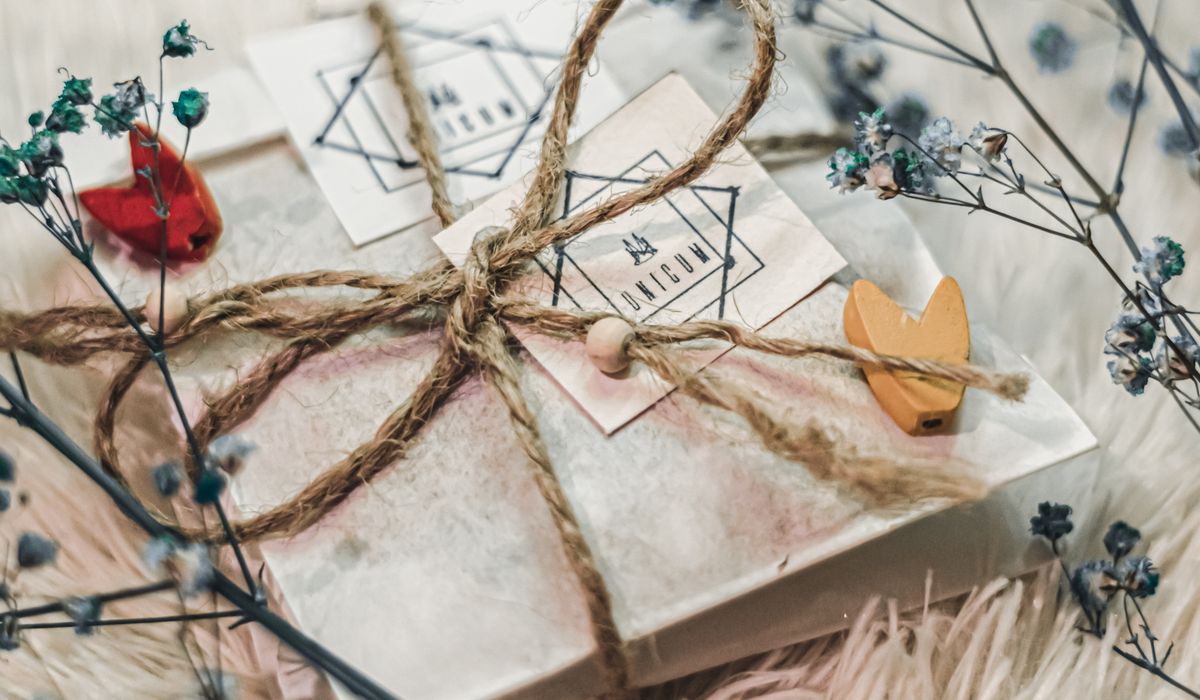
Paper Quilling Projects for Absolute Beginners
What Paper Quilling Actually Involves
Quilling, sometimes called paper filigree, is the craft of rolling narrow strips of paper into coils, pinching those coils into shapes, and gluing them together to build a design. That's genuinely the whole idea. The strips are usually between 3mm and 10mm wide, and because they're so thin and flexible, they curve into shapes that look far more intricate than the effort required to make them.
The appeal for beginners is that it's quiet, inexpensive and forgiving. A coil that comes out slightly lopsided can usually be nudged back into shape with your fingertips, and if one strip tears, you've lost almost nothing. Most people manage a recognisable shape within their first twenty minutes and a finished card within an evening. It's also wonderfully portable — a small tin of strips, a tool and a bottle of glue will see you through a train journey or a rainy afternoon at the kitchen table.
The Starter Kit (And What You Can Skip)
You don't need much to begin, and you certainly don't need a full kit with forty compartments. Start with these essentials:
- Paper strips. Buy pre-cut quilling strips in 3mm and 5mm widths to start. Cutting your own from A4 gives you freedom later, but pre-cut strips remove a variable while you're learning.
- A quilling tool. Either a slotted tool (a needle with a slit in the top that grips the strip) or a needle tool (a plain awl you roll the paper around by hand). Slotted tools are quicker to learn; needle tools give you more control over tension.
- Fine-tip glue. PVA in a bottle with a narrow metal nozzle, or decanted into a small applicator bottle. Precision matters more than brand.
- Tweezers. For placing small shapes onto glue without smudging your work or flattening coils.
- A work surface. A cork board or foam board covered with a sheet of greaseproof paper, plus a few dressmaking pins if you want to hold shapes in place while they dry.
Worth buying later, once you know you enjoy it: a circle template board for sizing coils consistently and a quilling comb or crimper for textured effects.
Your First Coils and Shapes
Take a strip, feed one end into the tool and roll it towards you with a steady, even pressure. Don't pull tight — you want a relaxed coil, not a wound spring. When you reach the end, let the coil sit in the palm of your hand for a few seconds so it relaxes and expands naturally. Glue the loose outer end down with a tiny dot of adhesive, holding it for a moment until it grips.
That gives you a tight coil if you glue it immediately, or a loose coil if you let it spring open first. From a loose coil, two pinches of the fingers produce most of the classic shapes:
- Teardrop — pinch one side of the coil to a point.
- Marquise — pinch both opposite sides.
- Square — pinch four evenly spaced points and flatten the sides between them.
- Crescent — pinch two opposite points, then curve the whole shape slightly around your finger.
- Heart — pinch one point, then push the opposite side inwards with a fingertip.
Practise ten of each before you attempt a design. It feels repetitive, but it builds the muscle memory that makes everything afterwards much easier.
A Simple First Project: A Greetings Card
A blank card, a handful of green teardrops and a few pink tight coils is all you need for a small bunch of flowers. Here's how to assemble it.
- Lightly pencil your design onto the card front, or place your shapes loose on the card until the layout looks right.
- Work from the centre outwards. Glue the largest shapes first, then fill in around them.
- Apply glue with a pinhead or the tip of your applicator — a dot, never a blob. Excess glue is the most common reason beginner work looks messy.
- Use tweezers to set each shape down, and press gently for a few seconds.
- Leave the card flat to dry for at least an hour before you write in it or stand it up.
For a framed piece, work on greaseproof paper over your design instead, then lift the finished motif with a palette knife and glue it to your backing card once dry.
Troubleshooting the Usual Snags
Coils unravel when I let go. Roll with slightly less tension and hold the coil closed with your fingertip for a moment before gluing. Wetter glue also softens the paper — use less of it.
The centre is off-centre. This is normal at first. As you roll, keep the strip's edge aligned with the previous layer rather than letting it wander. A slotted tool helps here.
Shapes look squashed. Pinch with the pads of your thumb and forefinger, not your nails, and pinch once. Repeated pinching flattens the coil's natural curve.
Glue seeps onto the card. Switch to a finer nozzle and apply the glue to the shape rather than the card. A cocktail stick works wonderfully if you're stuck.
Where to Take It Next
Once teardrops and marquises feel natural, try combining them into leaves and petals, or work on a bee, a butterfly or a monogram letter. On-edge quilling — standing the coils upright rather than laying them flat — opens up a whole different look, and it's the technique behind most of the framed pieces you'll have seen.
Keep your finished work in a folder or shallow box so coils don't get crushed, and store strips upright in a jar to stop them curling. Most of all, don't aim for a perfect first project. Quilling rewards patience rather than precision, and the pieces you make in month three will quietly amaze you when you look back at the ones from week one.


Notebooks
-
Condolence letters should be handwritten where possible, acknowledge the loss gently and offer specific, practical help without adding pressure.

Pens




-

Long established fact that a reader will be distracted
-

Long established fact that a reader will be distracted
-

Long established fact that a reader will be distracted




Journaling
Karla Gleichauf
12 May 2017 at 05:28 pm
On the other hand, we denounce with righteous indignation and dislike men who are so beguiled and demoralized by the charms of pleasure of the moment
M Shyamalan
12 May 2017 at 05:28 pm
On the other hand, we denounce with righteous indignation and dislike men who are so beguiled and demoralized by the charms of pleasure of the moment
Liz Montano
12 May 2017 at 05:28 pm
On the other hand, we denounce with righteous indignation and dislike men who are so beguiled and demoralized by the charms of pleasure of the moment