

Making Custom Envelopes from Old Maps and Magazines
Why Fold Your Own Envelopes?
An envelope is the first thing a reader touches, and a shop-bought white one says very little. Fold one from an old road atlas, a faded magazine page or a scrap of patterned wrapping paper, and suddenly the note inside has a story before it has even been opened. A letter posted in an envelope cut from a map of the Lake District carries a little of the place with it; one made from a gardening magazine suits a seed swap perfectly.
There is a practical side too. Envelopes made this way cost almost nothing, keep oddments out of the recycling bin, and can be made in any size you like — which is a gift if you write long letters on A5 paper or tuck small prints and pressed flowers into your correspondence.
Choosing Paper That Will Actually Fold
The single biggest variable is paper weight. Anything between roughly 90 and 120 gsm folds crisply and holds a crease. Thinner than that and your envelope will flop and tear at the seams; much thicker and the folds become bulky, which can push you over postal thickness limits.
- Old maps: Road atlases and tourist maps are usually ideal. Look for folding maps on lighter stock rather than framed wall maps, which are often too heavy.
- Magazines: Inner pages beat covers every time. Covers are coated and stiff, and heavy ink coverage tends to crack along the fold. Pages with large areas of pale colour or white space are best, because you still need somewhere legible for the address.
- Wrapping paper: Beautiful patterns, but often far too thin on its own. Either double it over, gluing two sheets back to back, or line it with a sheet of plain 80 gsm paper for strength.
- Sheet music, wallpaper samples, old book endpapers: all worth experimenting with, though very old or brittle paper should be handled gently and reinforced at the seams.
Before committing, fold a spare corner of your chosen paper and press it firmly. If the surface cracks or the crease springs open, choose something else.
Sizing and What You Will Need
The simplest reliable method is to unpick a shop-bought envelope along its seams, flatten it out and trace the shape onto a piece of card. That card becomes a reusable template you can draw round for years. If you would rather work from measurements, a good rule of thumb is to cut your sheet 6 cm wider and 6 cm taller than the finished envelope. For a finished envelope of 16.2 x 11.4 cm — the size that fits an A5 sheet folded in half — cut a rectangle of roughly 22 x 17.5 cm.
Gather a pencil, a steel ruler, scissors or a craft knife and cutting mat, a glue stick or a roll of double-sided tape, and something blunt for creasing: a bone folder if you have one, otherwise the back of a teaspoon works perfectly. A strip of low-tack tape is handy for holding the first folds steady.
The Folding Method, Step by Step
Work on a clean, flat surface and keep your hands dry — glossy paper marks easily.
- Place the sheet patterned side down, so the plain reverse faces you.
- Fold the left and right edges inwards by about 3 cm to create the side seams. Crease firmly with your blunt tool, running it along the fold line before you press the paper flat.
- Fold the bottom edge up by the finished height of your envelope — 11.4 cm in our example — so it covers the side flaps.
- Fold the top edge down to make the flap, trimming it if necessary so it overlaps the front by about 1 cm.
- Unfold everything, run glue or tape along the side seams, then refold the sides and press the bottom flap down over them. Smooth from the centre outwards to push out air bubbles.
Leave the flap unsealed until you are ready to post. If you are making several at once, a production line of cutting, scoring, folding and gluing goes much faster than finishing one envelope at a time.
Making Them Last in the Post
Homemade envelopes are sturdy enough for ordinary post, but a few small habits make a real difference.
- Write the address on a label or on a rectangle of plain paper glued to the front. Busy map lines and magazine photographs swallow handwriting whole.
- Use a waterproof pen — fountain pen ink will bleed on coated magazine stock, so a fine permanent marker is safer.
- Seal the seams as well as the flap if the paper is glossy. A thin line of clear tape along the two side edges stops the envelope bursting in a sorting machine.
- Mind the depth. Keep completed envelopes under 5 mm thick and check current postal size and weight bands before posting, particularly if you have used several layers of paper or added a wax seal. Odd shapes and oversized envelopes usually cost more, so trimming to a standard rectangle is worth the effort.
Ideas for Journalers and Paper Crafters
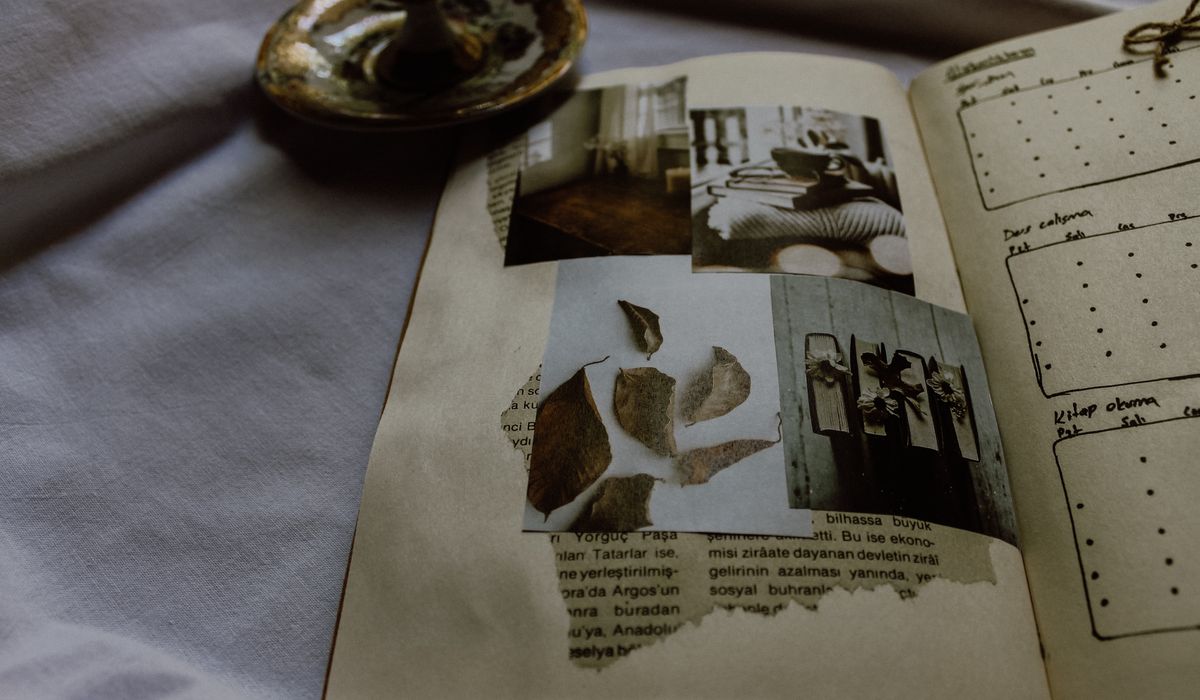
These envelopes earn their keep well beyond the postbox. Glue one, flap open, into a journal page and you have an instant pocket for ticket stubs, receipts and photographs. Make a series from maps of places you have visited and use them as dividers between sections of a travel journal. Cut a batch from a single magazine spread for a themed pen-pal set, or use wrapping paper left over from a birthday to send the thank-you notes.
There is something quietly satisfying about turning a page nobody looked at twice into an envelope somebody will be pleased to open. Start with one you would not mind ruining, and keep the first attempt as a template — the second will be neater, and by the tenth you will be folding them from memory.


Notebooks
-
A thoughtful letter balances warmth, specific news and questions, making it easier for the recipient to reply with genuine enthusiasm.
Pens

-

Long established fact that a reader will be distracted
-

Long established fact that a reader will be distracted
-

Long established fact that a reader will be distracted




Journaling
Karla Gleichauf
12 May 2017 at 05:28 pm
On the other hand, we denounce with righteous indignation and dislike men who are so beguiled and demoralized by the charms of pleasure of the moment
M Shyamalan
12 May 2017 at 05:28 pm
On the other hand, we denounce with righteous indignation and dislike men who are so beguiled and demoralized by the charms of pleasure of the moment
Liz Montano
12 May 2017 at 05:28 pm
On the other hand, we denounce with righteous indignation and dislike men who are so beguiled and demoralized by the charms of pleasure of the moment