

Setting Up a Writing Desk for Better Posture
Start with the chair, not the desk
Most of us think about a desk setup as a choice of desk, then a chair. In practice it works the other way round. Your chair decides how your hips, knees and lower back sit, and everything else — desk height, writing slope, screen — is adjusted around that. Get the seat wrong and no amount of clever stationery will save your shoulders by the end of a long journaling session.
Begin by sitting back so your bottom is against the back of the seat, rather than perched on the front edge. Your feet should be flat on the floor, knees bent to roughly a right angle, and hips level with or slightly higher than your knees. If your chair is too tall and your feet dangle, the weight of your legs pulls on your lower back. A simple footrest — even a sturdy box or a stack of old magazines — solves this in seconds.
- Seat height: thighs roughly horizontal, feet fully supported
- Seat depth: two or three fingers of space between the back of your knees and the front edge of the seat
- Backrest: supporting the curve of your lower back, not just your shoulder blades
If your chair has armrests, check they tuck under the desk rather than forcing you to lean forward or sit at an odd angle.
Bring the desk to you, not the other way round
With your chair set, rest your hands on the desk as if about to write. Your elbows should sit at about ninety degrees and your shoulders should be relaxed, not lifted towards your ears. A desk that is too high pushes your shoulders up; one that is too low makes you hunch over the page.
Most writing desks sit somewhere between 72cm and 75cm high, which suits someone around 175cm tall. If you are shorter, raise the chair and add a footrest rather than stretching to reach the surface. If you are taller, a small desk riser or a set of sturdy blocks under the legs can lift things into the right zone.
For journaling and letter writing specifically, consider a writing slope or an angled reading stand. Tilting the page to around 20 degrees brings the words closer to your eyes and lets your wrist rest in a more neutral position. It is one of the cheapest upgrades you can make, and it makes a genuine difference to how long you can write comfortably.
Position your screen and your light
Even a paper-based hobby usually involves a screen nearby — a laptop for reference, a phone for prompts, a tablet showing a craft tutorial. Set anything with a screen so the top of the display is at or just below eye level, roughly an arm's length away. If you work from a laptop, a stand plus a separate keyboard is worth the investment, because hunching towards a low screen is one of the fastest routes to neck ache.
Lighting matters just as much. Position a lamp to the side opposite your writing hand so you are not casting a shadow across the page — to the right if you are left-handed, to the left if you are right-handed. A lamp placed about 40cm to the side, angled down towards the desk rather than into your eyes, gives clear light without glare. Where you can, work with daylight arriving from your side rather than in front of or behind you.
Desk accessories that earn their place
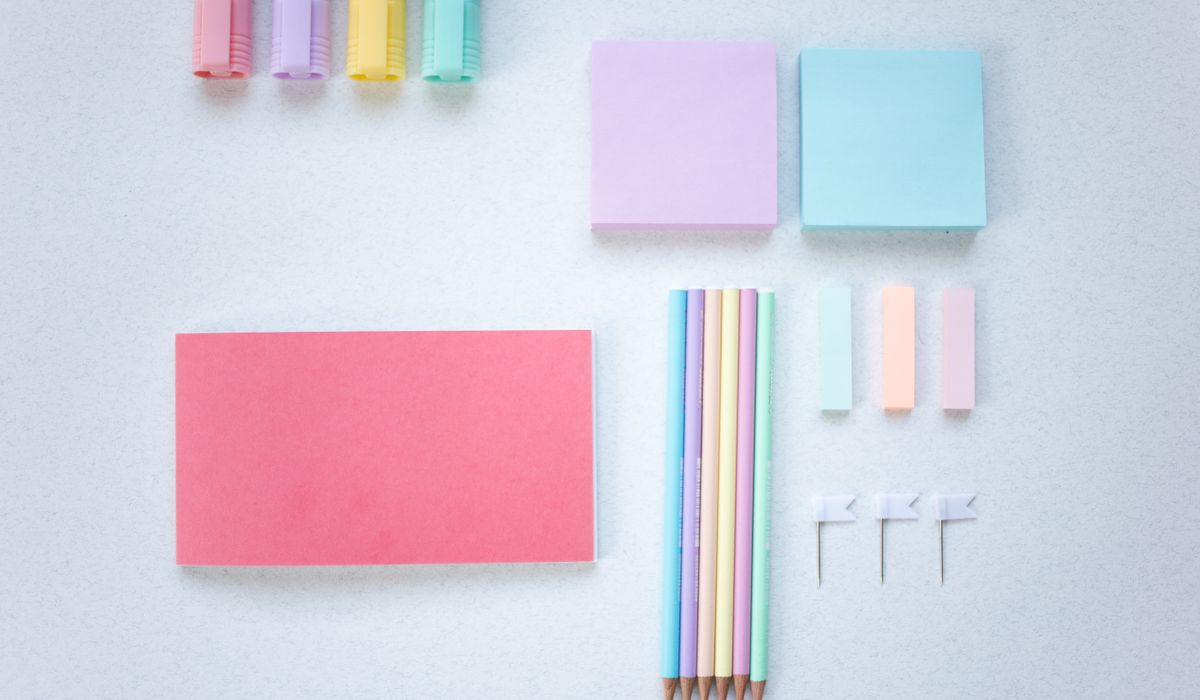
A well-organised desk reduces reaching, twisting and stretching, all of which interrupt good posture. Keep what you use most within a forearm's reach and everything else further away.
- Pen pots and trays: group pens, pencils and markers on your dominant side so you are not crossing your body to grab one
- A notebook or document holder: keeps reference material upright and close to eye level
- A thin wrist rest: handy if you type as well as write, but keep it slim — a thick pad lifts your wrist and creates its own problems
- A cutting mat and craft tools: stored flat and close by, so you are not hauling a heavy box down from a shelf mid-project
Resist the urge to fill every centimetre. Empty desk space is working space, and it gives you room to spread out a journal, a glue stick and a sheet of washi tape without everything toppling.
Build small resets into long sessions
Even a perfect setup becomes uncomfortable if you stay in it for hours. The body likes variety, so treat posture as something you move through rather than hold. Set a gentle timer for every twenty-five to thirty minutes, and when it goes off, do three things: stand up, roll your shoulders back, and let your hands open and close a few times.
Before a long journaling session, spend thirty seconds warming up. Circle your wrists, turn your head slowly left and right, and shrug your shoulders up and down. Cold, stiff hands are far more likely to cramp halfway through a page. Keep a glass of water on the desk too — it gives you a natural reason to stand and move, and a reason to step away when you are stuck for the next sentence.
Making the setup fit your craft
Whether you are filling a daily journal, writing letters or working on paper crafts, the principle is the same: the desk should come to you. Adjust the chair first, then the surface, then the page angle, then the light. Add accessories only when they remove a reach or a strain.
Do this once, properly, and you will notice the difference within a week — longer sessions, fewer aches, and more of your attention left over for the writing itself.


Notebooks
-
Quilling uses narrow paper strips to create delicate shapes, and a few basic tools are enough to begin making cards and framed designs.

Pens



-

Long established fact that a reader will be distracted
-

Long established fact that a reader will be distracted
-

Long established fact that a reader will be distracted



Journaling
Karla Gleichauf
12 May 2017 at 05:28 pm
On the other hand, we denounce with righteous indignation and dislike men who are so beguiled and demoralized by the charms of pleasure of the moment
M Shyamalan
12 May 2017 at 05:28 pm
On the other hand, we denounce with righteous indignation and dislike men who are so beguiled and demoralized by the charms of pleasure of the moment
Liz Montano
12 May 2017 at 05:28 pm
On the other hand, we denounce with righteous indignation and dislike men who are so beguiled and demoralized by the charms of pleasure of the moment